My daughter, Rowan (7 years old), loves to read books about friendship. If magic, crafting or humor are thrown in, even better! She is my oldest, and I admit I get a little nostalgic when I think of the first time we read a Mercy Watson or Princess in Black book. Here is a list of her favorite early chapter book series. We hope your kids enjoy them too!
The Princess in Black
by Shannon Hale & Dean Hale, illustrated by LeUyen Pham
A Princess who becomes a super hero and battles monsters? Yeah, it doesn’t get much better than that. Although this series seems very girly, when Rowan was in Kindergarten, her entire class really loved these adventures and bright illustrations.
Mercy Watson
by Kate Dicamillo, illustrated by Chris Van Dusen
An early reader with illustrations on almost every page, Mercy Watson is a great introduction to chapter books. Mercy is a pig who seems to find herself the center of many funny situations. She lives with the Watsons, who treat her as their child more than their pet, even allowing her to sleep in their bed!
Zoe and Sassafrass
story by Asia Citro, pictures by Marion Lindsay
A young science loving girl learns that she and her mom can see magical creatures. The series follows her adventures in helping these creatures using scientific methods. These books are cute, quirky and fun. They have the added bonus of an African American lead character, a scientist Mom, and a stay-at-home Dad – all of which we don’t see enough of in kids books.
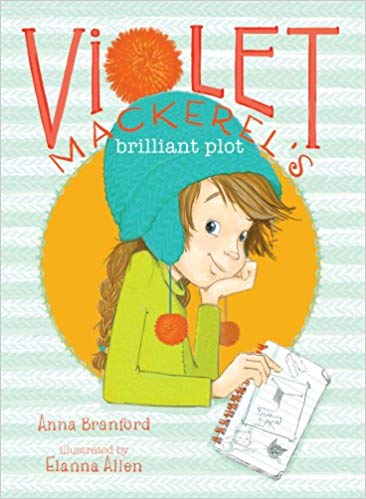
Violet Mackerel
by Anna Bradford, illustrated by Elanna Allen
Rowan loves this Australian series about a sweet girl named Violet, who thinks that small acts often produce big results. I love that this series focuses on friendship and kindness. Violet’s mom is a single parent who supports her three kids with her hand crafted goods, which she sells at local stores and a weekly market. Simple and non-materialistic, Violet Mackerel will find her way into your heart too.
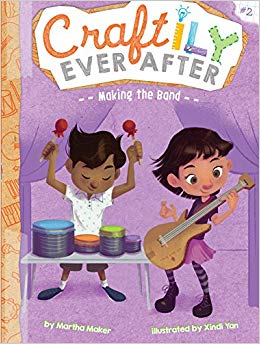
Craftily Ever After
by Martha Maker, illustrated by Xindi Yan
Rowan is very into crafting and art, so this series about four friends with different crafty talents is a favorite. Each book features a different craft, and has instructions to make it yourself in the back of the book. In the first book two friends learn that being best friends doesn’t mean that you can’t make new friends. Such an important lesson for kids and adults!
Owl Diaries
by Rebecca Elliot
In diary format with cute color illustrations, a fun, energetic owl named Eva shares with us her life in Tree-topolis. Rowan loves the words that are “owl-ed” like: owl-tastic, owl-mazing and hoot-ful. In each book, Eva learns that problems are easier to solve when she and her friends work together.